SGX-CA900 Update Manual
This manual is for Windows7. SGX-CA900(hereafter the CycloComputer) is updated using a specific PC Application. (Pioneer Cycle Cloud Connect) Firstly it is necessary to install Pioneer Cycle Cloud Connect on your PC. The following steps are required to update the CycloComputer:
- Install Pioneer Cycle Cloud Connect
- Activate Pioneer Cycle Cloud Connect(Must be done on SGX-CA900)
- SGX-CA900 Firmware Update(Must be done on SGX-CA900)
Refer to the following for details of each step.
-
Depending on the Security settings of your browser there may be warning messages shown when downloading warning of possible security problems due to the download. These will have no effect on the update operation and should be ignored.
-
If the device is logging, stop logging and save the log data before the update.
1. Install Pioneer Cycle Cloud Connect
Outline
Install Pioneer Cycle Cloud Connect.Explanation of Screen
Start
http://pioneer-cyclesports.com/us-en/support/products/sgx-ca900.htmlDownload the executable file from the above URL.
Double click the downloaded file to execute it.
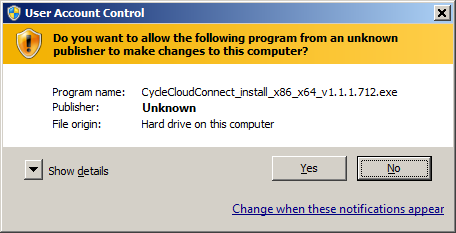
If the User Account Dialog box is shown, press "YES".
Language Selection
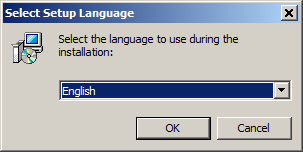
Select the language to be used during installation and then press "OK".
Setup Wizard
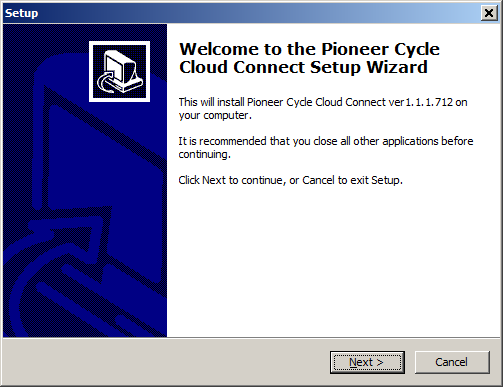
Click on "NEXT".
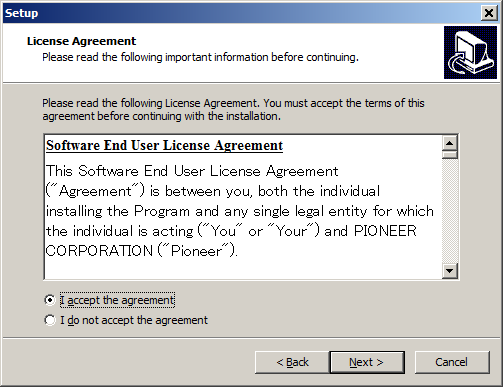
Please read the Terms of Service, select the "I Agree" box, then click on "NEXT".
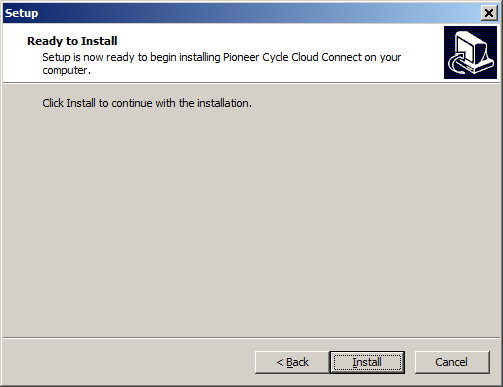
To install the software click on "INSTALL".
Device Driver Installation Wizard
During the installation of Pioneer Cycle Cloud Connect, the Device Driver will be installed. Please follow the instructions shown for Driver Installation.
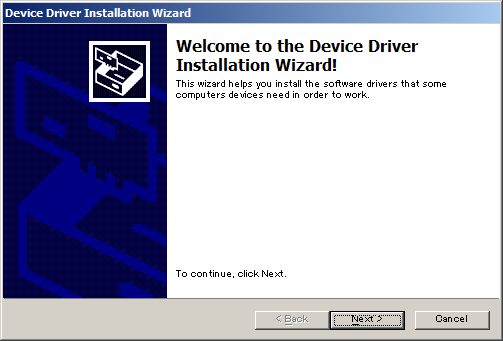
Now Installing Driver. Please click on "NEXT".
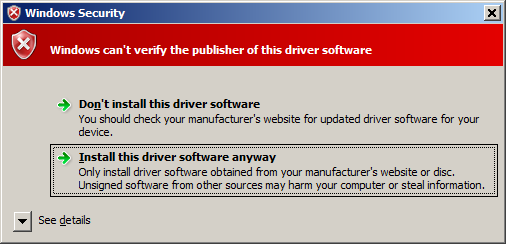
If the Windows Security Dialog box is shown, please click on "Install this Driver".
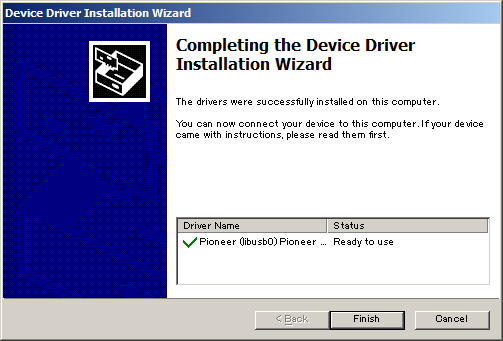
If the Driver is installed correctly, the Installation Wizard will show an "Installation Complete" dialog Box.
Please click on "Finish".
If Microsoft .NET Framework 4 is not installed,
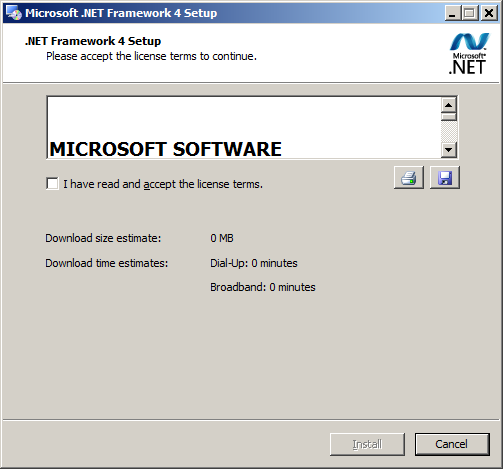
If Microsoft .NET Framework 4 is not installed on your computer the Microsoft .NET Framework 4 Setup is shown. Please select"I AGREE" then click on "INSTALL".
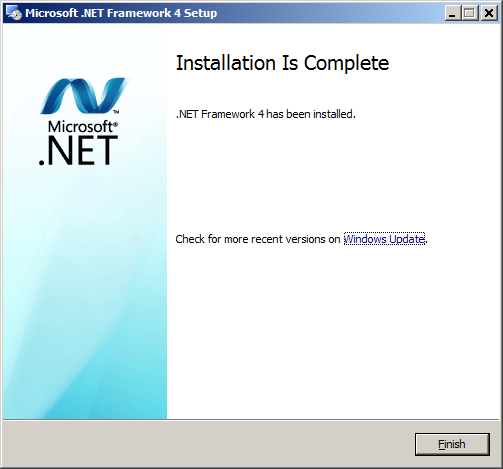
After the Install Progress is shown, the Setup Complete Window is shown. Please click on "FINISH" to complete the installation. A Restart of the computer may be necessary.
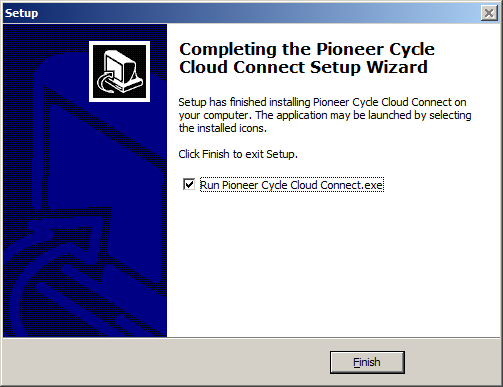
Cycle Cloud Connect Installation is now complete.
Please select "Run Pioneer Cycle CloudConnect.exe" and click on "CLOSE" to close the Dialog Box.
2. Activate Pioneer Cycle Cloud Connect.
Outline
After installing Pioneer Cycle Cloud Connect, please register the device to activate the application.
Connect the CycloComputer
After installing Pioneer Cycle Cloud Connect, a Dialog window is shown. Please check that the PC is connected to the Internet, start up the CycloComputer in Update Mode, and connect it to the PC.
Please carry out the following operation on the CycloComputer.
Start up the CycloComputer in Update Mode
- If USB is connected, first disconnect the USB connector.
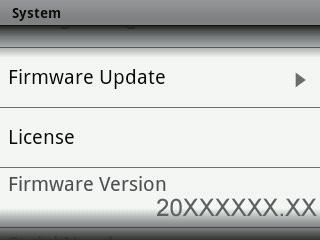
- The SETTINGS menu can be selected by pressing "SETTINGS" on the Home Screen.
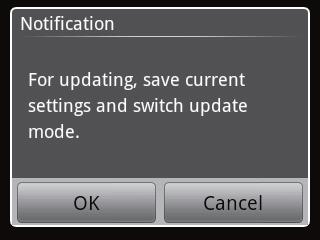
- Please tap on "SYSTEM" then "FIRMWARE UPDATE". Messages will be shown regarding the Backup of Settings and Firmware Update.
- Please tap on [OK]. Backup data will be generated automatically, then Update Mode will activate.
- Confirm that the CycloComputer Screen is illuminated all in white.
- Connect the CycloComputer to the PC via USB.
If the screen is flashing, then the battery level is insufficient. Please charge sufficiently before continuing.
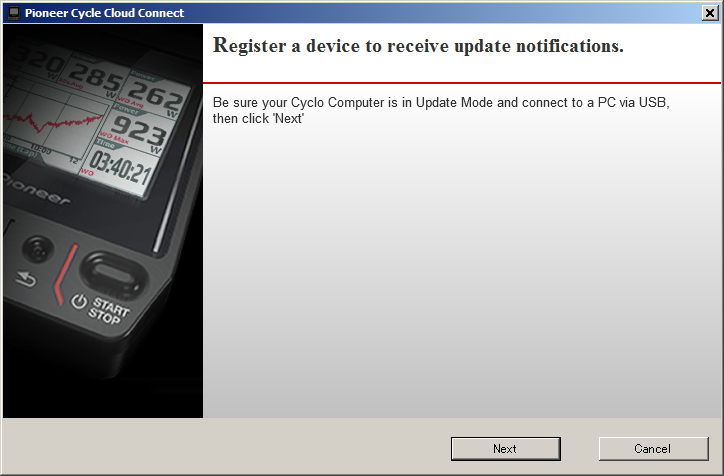
Activate Pioneer Cycle Cloud Connect
Please confirm that the PC is connected to the CycloComputer which is in Update Mode, then click on "NEXT".
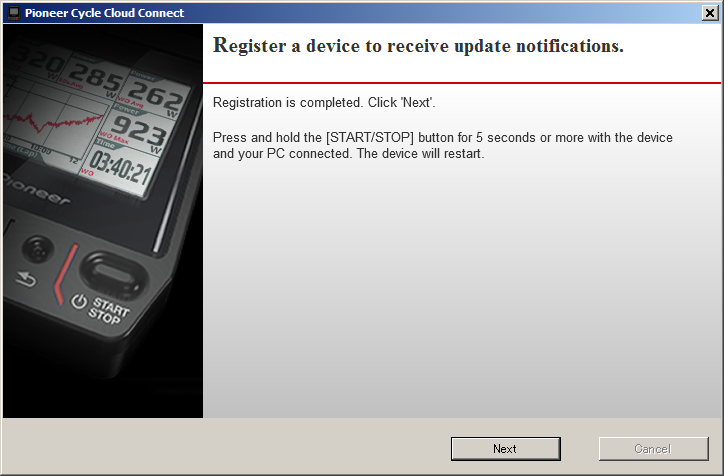
If the CycloComputer is detected correctly, Update Notification Registration will be completed. Please click on "NEXT".
Following the instructions on the CycloComputer, please press START/STOP for at least five seconds to restart the CycloComputer.
Please click on "OK". Pioneer Cycle Cloud Connect Activation is now complete. The Pioneer Cycle Cloud Connect application will now appear in your Task Tray. Please Right-Click on the Pioneer Cycle Cloud Connect Icon in the Task Tray to carry out all operations.
3. Update the Firmware of the SGX-CA900
Outline
Start the Firmware Manager and update the firmware of the CycloComputer
Please carry out the following operations on the CycloComputer.
Start up Update Mode on the CycloComputer
- If USB is connected, first disconnect the USB connector.
- The SETTINGS menu can be selected by pressing "SETTINGS" on the Home Screen.
- Please tap on "SYSTEM" then "FIRMWARE UPDATE". Messages will be shown regarding the Backup of Settings and Firmware Update.
- Please tap on [OK]. Backup data will be generated automatically, then Update Mode will activate.
- Confirm that the CycloComputer Screen is illuminated all in white.
- Connect the CycloComputer to the PC via USB.
If the screen is flashing, then the battery level is insufficient. Please charge sufficiently before continuing.
Please confirm that the CycloComputer is in Update Mode, then perform the following operations in Pioneer Cycle Cloud Connect.
Pioneer Cycle Cloud Connect Operation
Method of Operation
- Click on the Pioneer Cycle Cloud Connect Icon in the Task Tray, select "Actiate Firmware Manager"
- Connect the CycloComputer, which should be in Update Mode, to the PC via USB.
- Follow the instructions given by the Wizard.
Firmware Update can take 20-30 minutes in a FTTH environment.
Explanation of Screen
Start
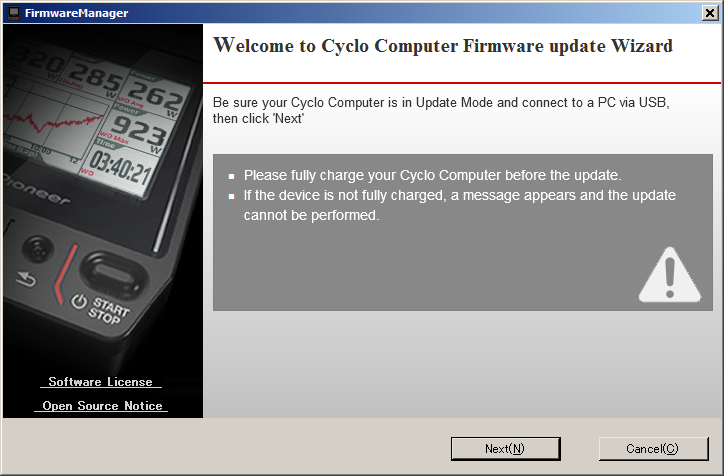
Please confirm that the PC is connected to the Internet, and the CycloComputer is connected in Update Mode to the PC.
Selecting "CANCEL" will cause the application to terminate.
If the Serial Number Registration Screen is shown
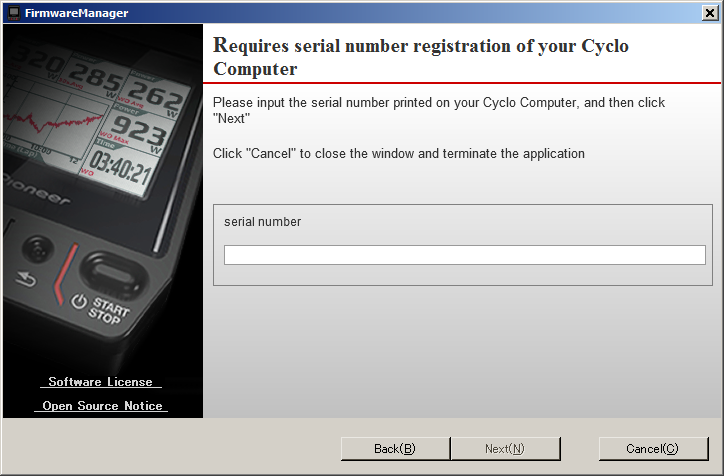
Please input the tewelve digit serial number shown on the CycloComputer and press "NEXT".
The serial number is the twelve digit number/letter combination shown in the "S/N" Section on the back of the CycloComputer.
If the Serial Number is input correctly, the Select Firmware Screen is shown.
Selecting "CANCEL" will cause the application to terminate.
Firmware Selection
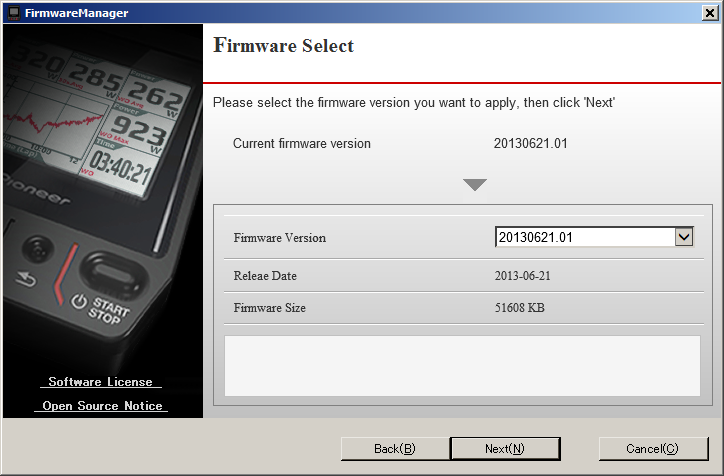
Selection of Firmware
Please select the version of the firmware you wish to update. The Update History of that version will be shown.
Current Firmware Version
The Firmware Version of the currently connected CycloComputer is shown.
Selecting "CANCEL" will cause the application to terminate.
Software License Agreement
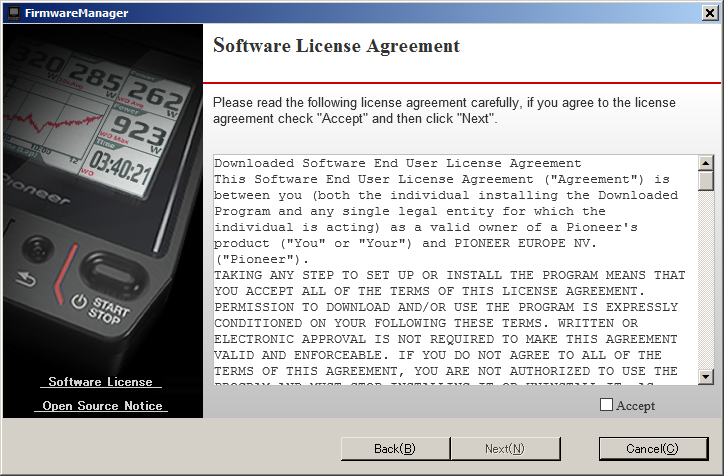
The Software License Agreement for the Firmware is shown. Select "AGREE" to accept to the agreement.
Select "RETURN" to return to the Select Firmware Screen.
Selecting "CANCEL" will cause the application to terminate.
Update Confirmation
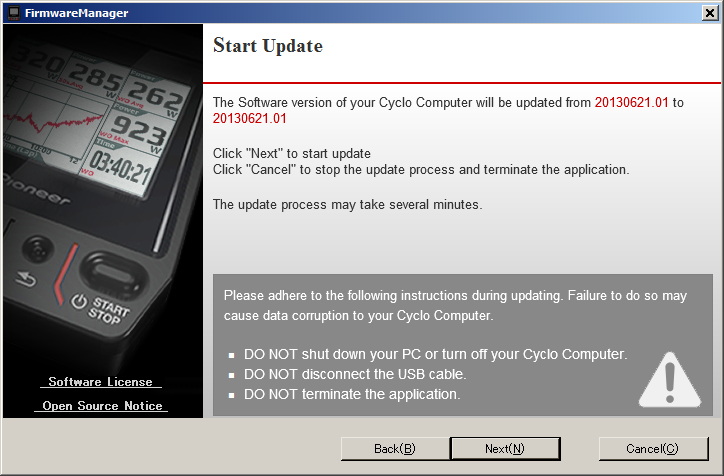
Please confirm the Current Version and Update Version of the firmware.
Select "RETURN" to return to the Software License Agreement Screen.
Selecting "CANCEL" will cause the application to terminate.
Firmware Update
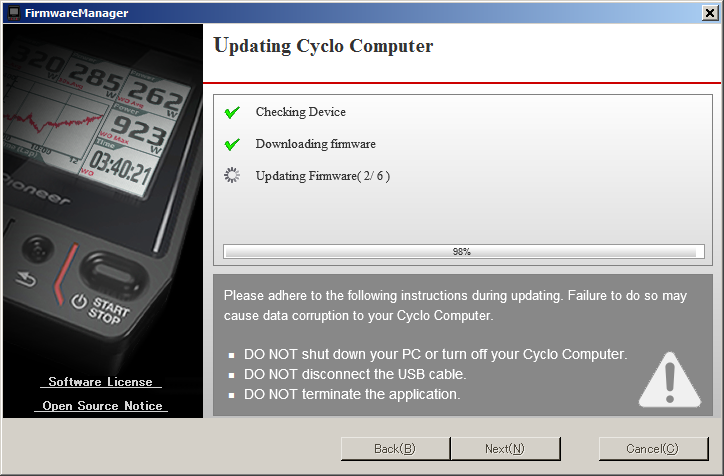
The progress of the Version Update of the CycloComputer is shown. Once the Update is complete, the "NEXT" button will become active.
Update Result
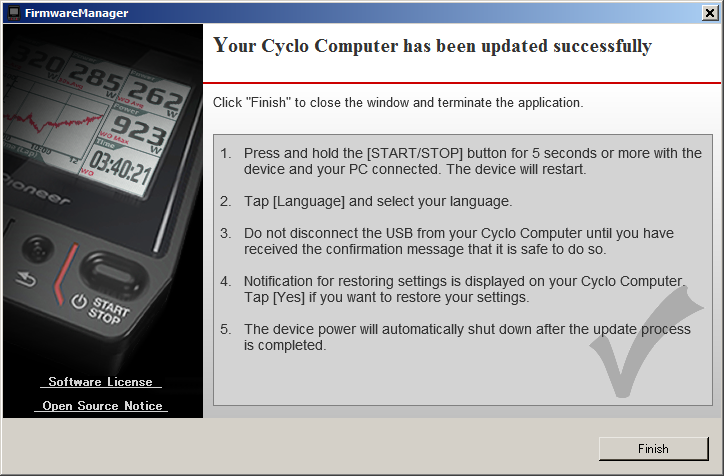
The Result of the Update Operation is shown. Follow the instructions in the Dialog Window to carry out the following operations on the CycloComputer.
Please perform the following operations on the CycloComputer.
- With the CycloComputer still connected to the PC via USB, press the START/STOP button for five seconds or more. The CycloComputer will restart.
- The CycloComputer will show the Initial Settings Screen, so please select the Language. The Firmware Update will then continue.
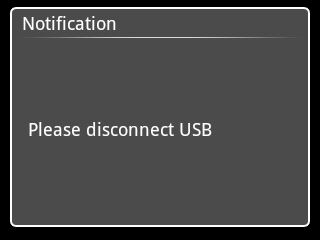
- Once the CycloComputer shows the Disconnect Message, please disconnect the USB cable from the CycloComputer.
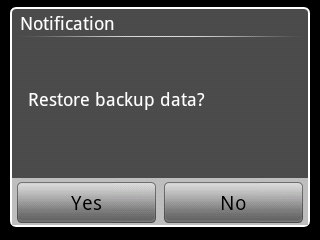
- The CycloComputer will show a message confirming the restoration of settings. Please select "YES".
- Once the Firmware Update is complete, the CycloComputer will automatically turn off.